Clipping Planes
This tutorial explains how to create, change and remove clipping planes. Clipping planes are used to spatially exclude parts of the geometry from the visualization by defining a separating plane.
Using the User Interface
The functionality to create and remove clip planes is directly available via the user interface of webvis. You can use the clip planes functionality by clicking the clipping plane button in the toolbar which is typically located on the right side of the screen:
Clipping Plane from Axis

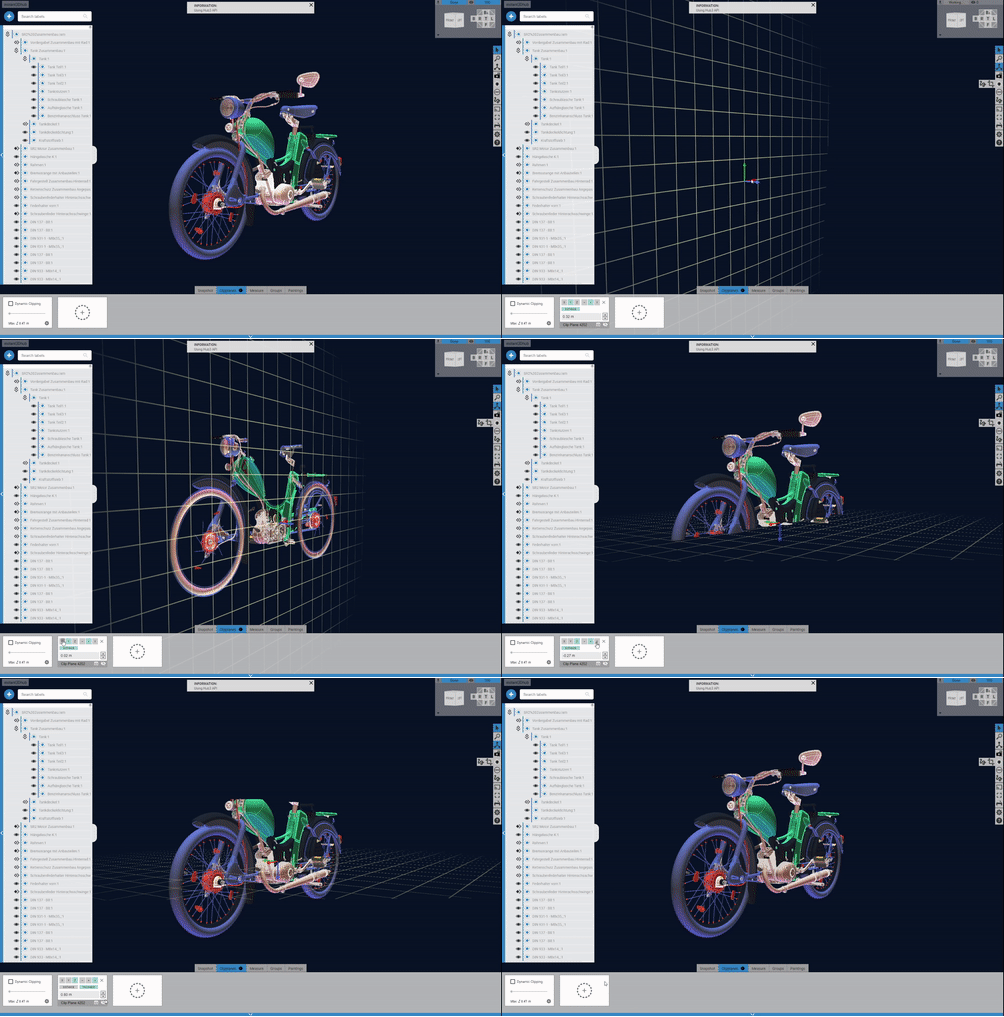
To create a clipping plane from an axis either use the clipping plane button in the right toolbox or select clipping plane in the bottom tab bar. This will create a clipping plane by default on the y-axis.
The axis can be changed with the widget in the bottom menu. Furthermore, the direction, distance or, when dual clipping is enabled, the thickness can be changed.
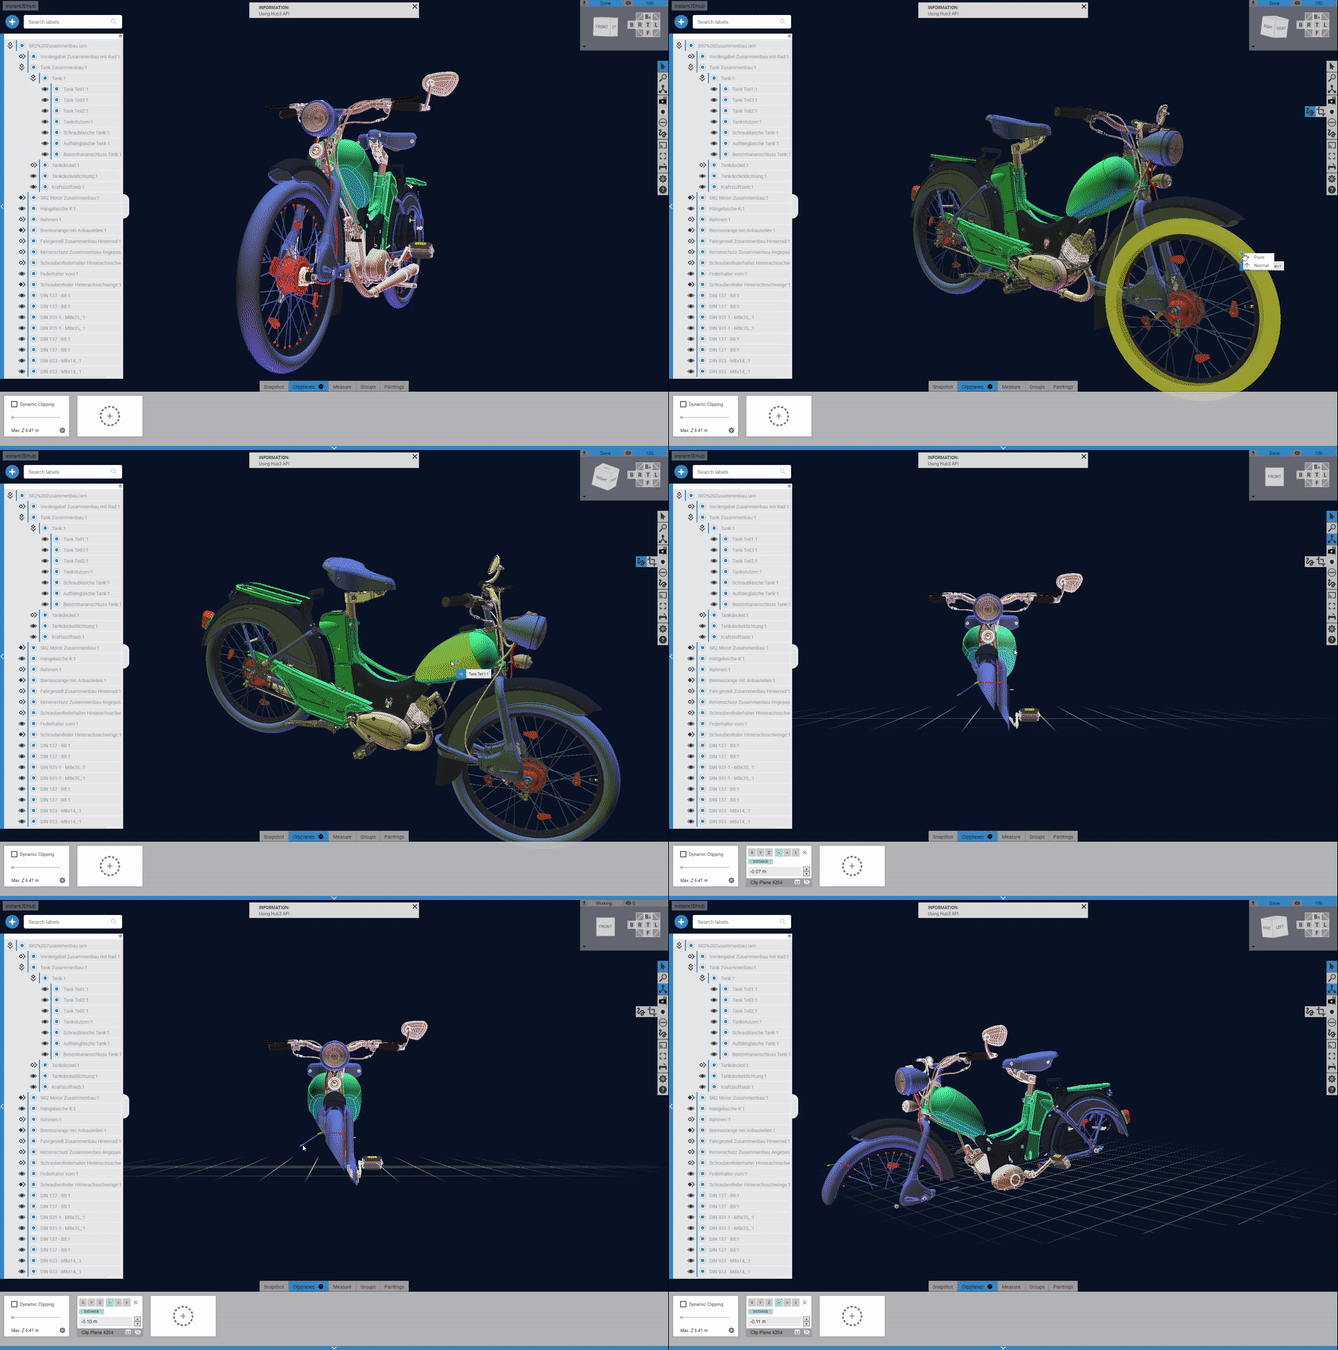
Clipping Plane from Geometry

To create a clipping plane from geometry, it is necessary to select three points or a plane. This will create a clipping plane from that selection.
Using the API
To create clipping planes by script, please refer to ClipPlaneAPI.