Session
This tutorial explains how to create and join a shared session.
Webvis provides the option to share the current 3D space with others to work together.
User Interface
Creating a session
To create a new session, click the session icon in the toolbar, which opens the session menu.
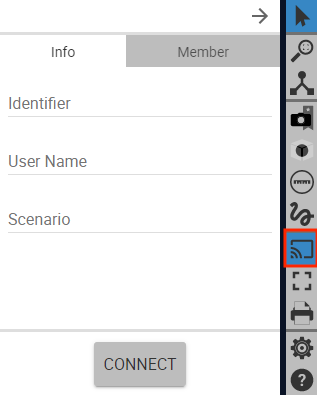
In the “Info” tab you can provide an “Identifier” or name for the session, your user name or a preconfigured scenario. All fields are opional. Click on the “CONNECT” button to create the session.
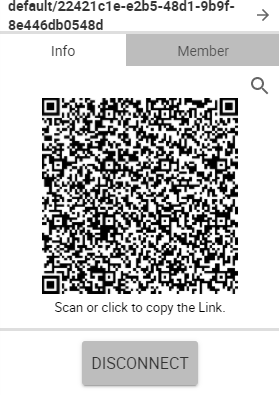
Now other users can join the session by either scanning the QR code with a mobile device or opening the corresponding link in a browser. The link can be copied to the clipboard by clicking on the generated QR code. The connected session members are listed in the “Member” tab.
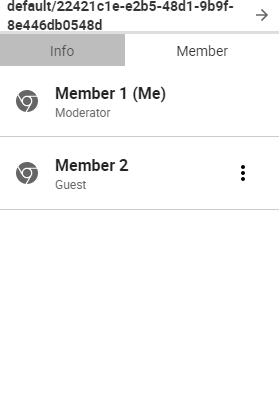
Clicking on the three dots next to a listed member opens a corresponding menu. There you can assign the “Moderator” role, remove a member or follow the camera of a member.
The “Moderator” role is initally assigned to the user, who created the session. Other users are marked as “Guest”. However, it is possible to assign the “Moderator” role to other members as well.
Following a users means, that all camera actions are synced.
Using the API
To create sessions with a script, please refer to the SessionAPI.